Charles is an HTTP proxy / HTTP monitor / Reverse Proxy that enables a developer to view all of the HTTP and SSL / HTTPS traffic between their machine and the Internet. This includes requests, responses and the HTTP headers (which contain the cookies and caching information)
You can download the Charles
After installing following are the steps to configure it
1.Register Charles
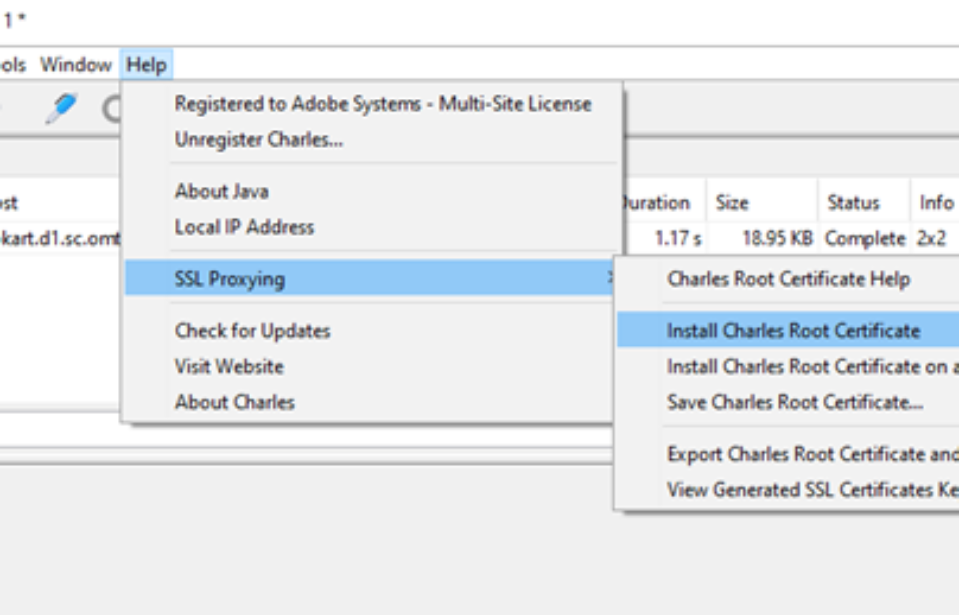
2.Goto Help->SSL Proxying->Install Charles Root Certificate

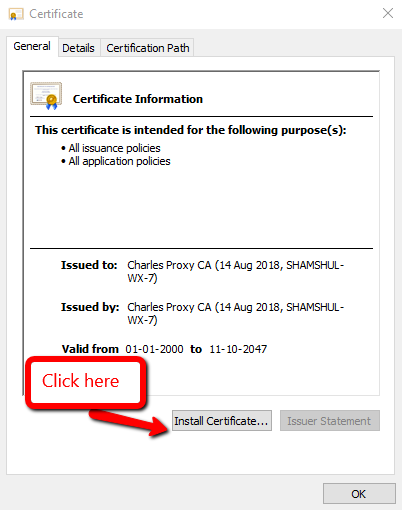
3.Select Local Machine and click on Next
4.Browser the certificate and select “Trusted Root Certification Authorities”
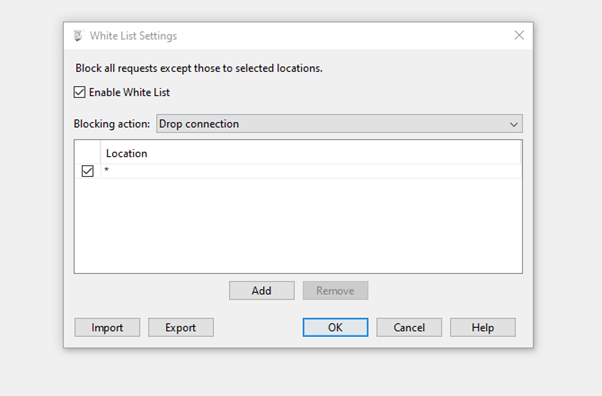
5.Click on Tools->Whitelist
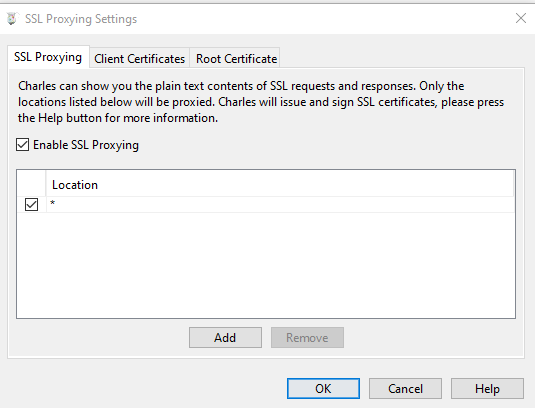
6.Click on Proxy->SSL proxy settings
After performing the above settings Charles will work fine in Chrome browser, for some reason it was not working on firefox at my end.
Follow the steps to make it work:
Windows / Internet Explorer
First quit Charles. Then go to the Internet Options in your Control Panel. Go to the Connections tab. Click on the LAN Settings. You’ll see a Proxy panel. Uncheck the Use a Proxy checkbox. Click OK until you’ve closed the Internet Options.
Mac OS X
Go to your System Preferences. Open the Network preferences. Choose the appropriate Network Port (you may need to reconfigure more than one if you have more than one) and click Configure. Go to the Proxies tab. Look in the list of proxy servers, you will see that Web Proxy and Secure Web Proxy are active. Uncheck those or reconfigure them as required for your network. Click Apply Now and then close the Network preferences.
Firefox
First quit Charles. Then go to the Firefox Preferences window, General tab, click Connection Settings. Then choose “Direct Connection to the Internet” or enter whatever proxy settings are required for your network. Click OK and then close the Preferences window.
Leave a comment
[wpqa_login]